Installing Suspension Lift Kit: A Step-by-Step Guide for a Smooth Upgrade
Table of Contents
- Installing Suspension Lift Kit: A Step-by-Step Guide for a Smooth Upgrade
- Why Install a Suspension Lift Kit?
- Types of Suspension Lift Kits
- Tools and Materials Needed for Installation
- Step-by-Step Guide to Installing a Suspension Lift Kit
- 1. Preparation
- 2. Remove the Existing Suspension Components
- 3. Install the New Suspension Components
- 4. Align the Vehicle
- 5. Test Drive
- Common Mistakes to Avoid
- Benefits of Professional Installation
- Frequently Asked Questions
- How Long Does Installation Take?
- Can I Install a Lift Kit on Any Vehicle?
- Will Installing a Lift Kit Void My Warranty?
- Conclusion
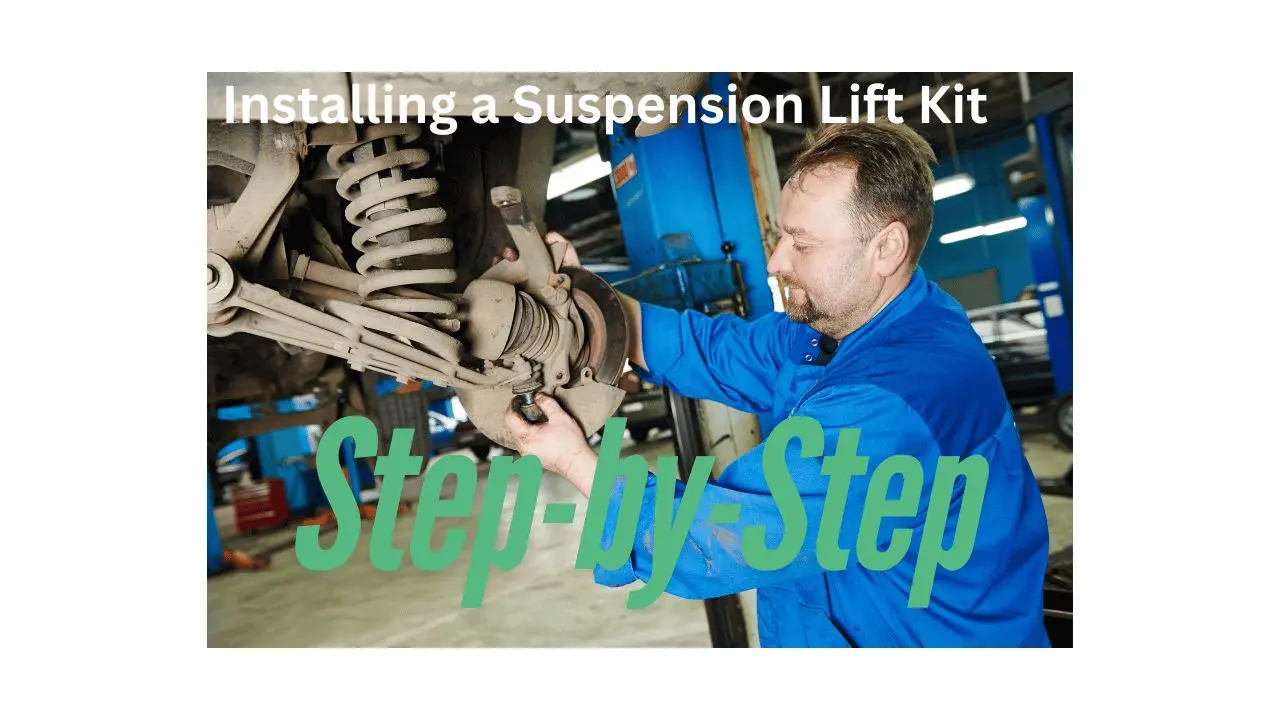
Installing Suspension Lift Kit: A Step-by-Step Guide for a Smooth Upgrade
Installing a suspension lift kit is a game-changer for off-road enthusiasts and anyone looking to elevate their vehicle’s appearance and performance. While the process may seem daunting, understanding the steps and ensuring proper installation can make all the difference. This guide will walk you through everything you need to know about installing a suspension lift kit.
Why Install a Suspension Lift Kit?
Before diving into the installation process, let’s explore why you might consider this upgrade:
-
Increased Ground Clearance: A suspension lift kit allows your vehicle to handle rough terrains and obstacles with ease.
-
Improved Off-Road Performance: Larger tires and enhanced suspension give better traction and stability.
-
Enhanced Aesthetics: A lifted vehicle stands out with a bold and aggressive look.
-
Customization: Suspension lift kits offer versatility to meet your specific driving and aesthetic needs.
Types of Suspension Lift Kits
There are several types of lift kits, and the right choice depends on your vehicle and goals:
-
Spring Over Axle (SOA) Kits
-
Ideal for off-road vehicles.
-
Offers significant ground clearance.
-
-
Spacer Lift Kits
-
Cost-effective and simple to install.
-
Provides a moderate lift without replacing the entire suspension system.
-
-
Full Suspension Lift Kits
-
Comprehensive upgrades for maximum lift.
-
Includes new springs, shocks, and other components.
-
Tools and Materials Needed for Installation
Before starting, gather the necessary tools and materials:
-
Jack and jack stands
-
Socket set and wrenches
-
Torque wrench
-
Screwdrivers
-
Suspension lift kit components
-
Safety gear (gloves, goggles)
-
Vehicle manual
Step-by-Step Guide to Installing a Suspension Lift Kit
1. Preparation
-
Read the Instructions: Familiarize yourself with the lift kit’s manual and ensure all parts are included.
-
Inspect the Vehicle: Check the current suspension system for wear or damage.
-
Safety First: Park on a level surface, engage the parking brake, and use jack stands for stability.
2. Remove the Existing Suspension Components
-
Loosen the lug nuts and remove the wheels.
-
Disconnect the shocks, springs, and other components as instructed in the kit manual.
-
Keep track of removed parts and their placements.
3. Install the New Suspension Components
-
Attach the new springs, shocks, and spacers according to the kit’s instructions.
-
Ensure all bolts are tightened to the manufacturer’s specifications using a torque wrench.
-
Reinstall the wheels and lower the vehicle carefully.
4. Align the Vehicle
-
Proper alignment is crucial after installing a lift kit.
-
Visit a professional alignment shop to adjust the steering and suspension geometry.
5. Test Drive
-
Take the vehicle for a short drive to check for unusual noises or handling issues.
-
Make adjustments if necessary.
Common Mistakes to Avoid
-
Skipping Alignment: Neglecting alignment can lead to uneven tire wear and handling problems.
-
Overtightening Bolts: This can cause stress on components and lead to failure.
-
Ignoring Instructions: Each lift kit is different; always follow the manufacturer’s guidelines.
Benefits of Professional Installation
While DIY installation is possible, professional services offer:
-
Expertise: Certified technicians ensure a safe and accurate installation.
-
Time-Saving: Professionals can complete the job efficiently.
-
Warranty Protection: Many lift kits require professional installation to maintain the warranty.
Frequently Asked Questions
How Long Does Installation Take?
The process can take 6-8 hours for experienced DIYers or less time for professionals.
Can I Install a Lift Kit on Any Vehicle?
Most vehicles can accommodate a lift kit, but compatibility depends on your make and model. Check with the manufacturer.
Will Installing a Lift Kit Void My Warranty?
It depends on the terms of your vehicle’s warranty. Consult your dealership or manufacturer for details.
Conclusion
Installing a suspension lift kit is an excellent way to enhance your vehicle’s capabilities and appearance. Whether you choose to tackle the project yourself or enlist professional help, understanding the process ensures a smooth and successful upgrade. Take the time to research, prepare, and follow instructions to enjoy the full benefits of your lifted vehicle